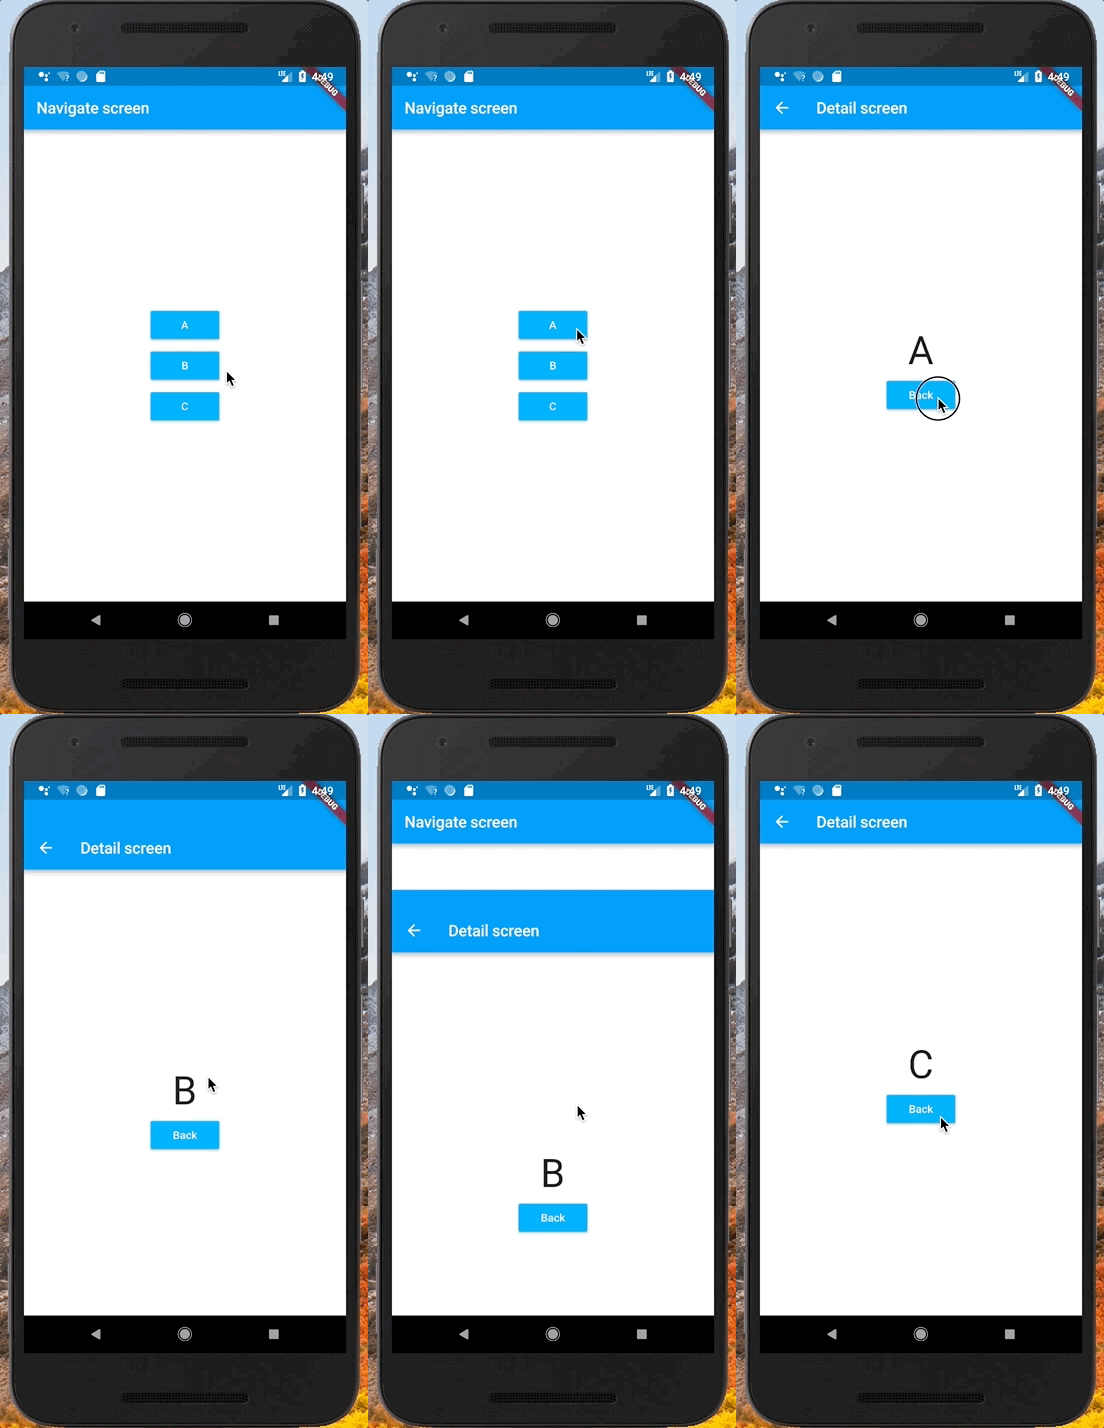
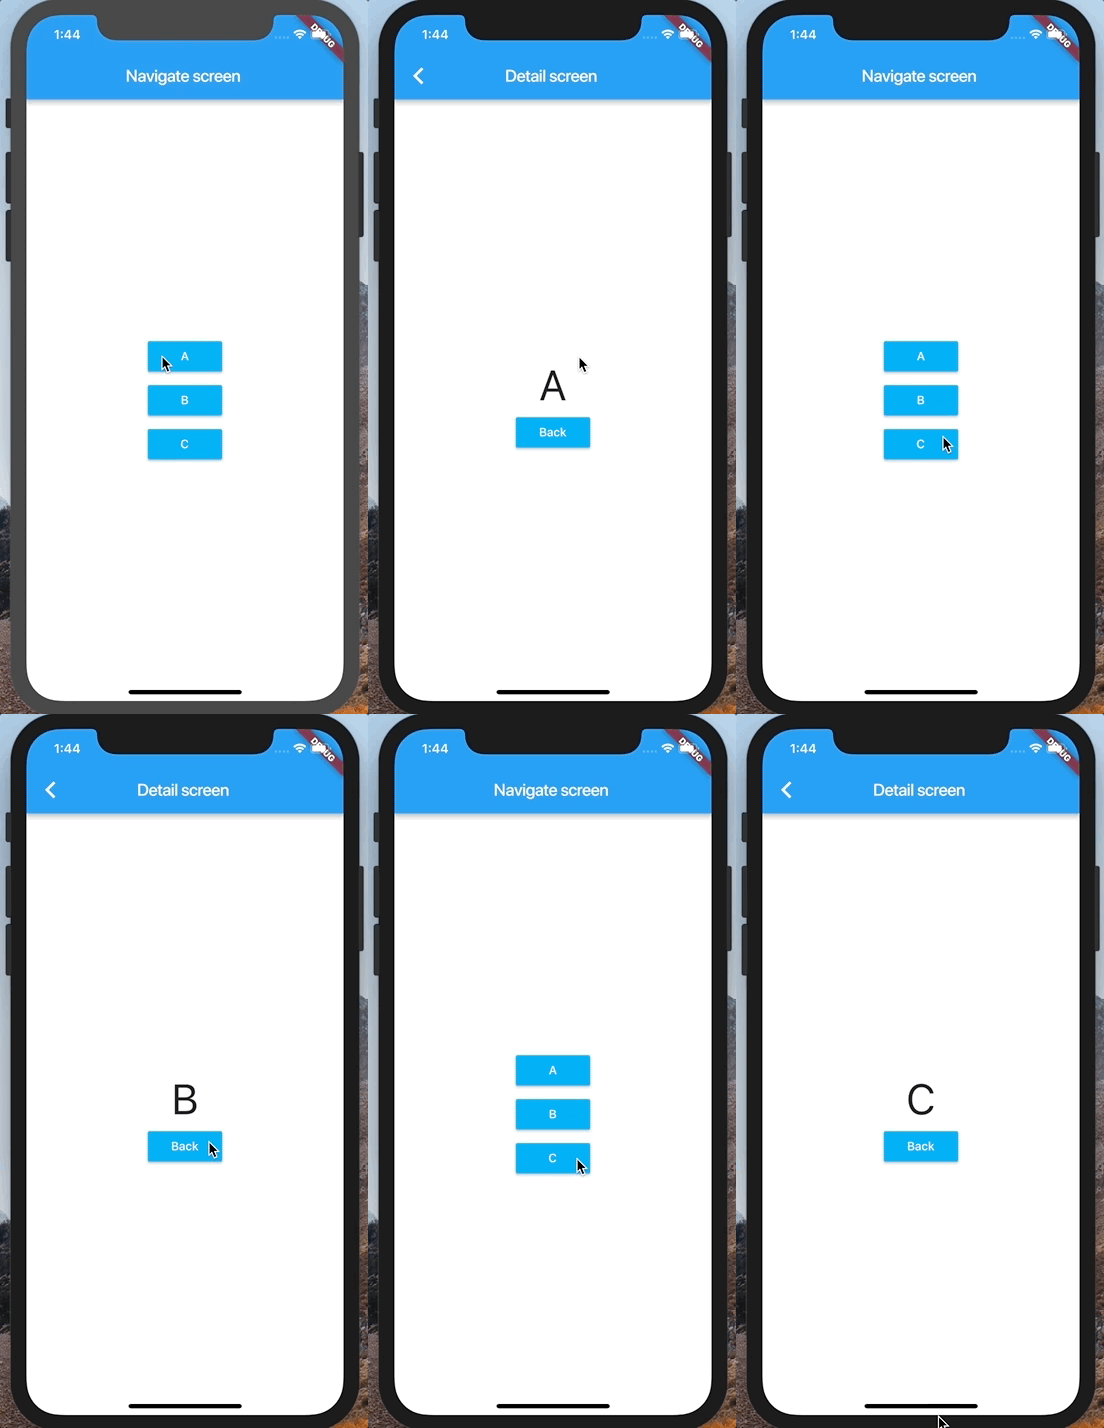
画面をタップして次画面へ遷移する時に値を渡す方法を紹介します。
AndroidであればIntentでActivity間の値の受け渡しをすることができます。
Flutterで画面遷移する時には、次画面にあたるWidgetのオブジェクトを生成します。このWidgetのコンストラクタで値を渡すことができます。
以下に簡単な例を示します。
1. 遷移元画面を用意
「A」「B」「C」と書かれた3つのボタンを用意します。
import 'package:flutter/material.dart';

class FirstScreen extends StatelessWidget {
  @override
  Widget build(BuildContext context) {
    return new Scaffold(
      appBar: new AppBar(
        title: new Text('First screen'),
      ),
      body: new Center(
        child: new Column(
          mainAxisAlignment: MainAxisAlignment.center,
          children: <Widget>[
            new Padding(
              padding: const EdgeInsets.all(8.0),
              child: new RaisedButton(
                child: new Text('A'),
                textColor: Colors.white,
                color: Colors.lightBlue,
                onPressed: () {
                  _navigateToNext(context);
                }
              )
            ),
            new Padding(
              padding: const EdgeInsets.all(8.0),
              child: new RaisedButton(
                child: new Text('B'),
                textColor: Colors.white,
                color: Colors.lightBlue,
                onPressed: () {
                  _navigateToNext(context);
                }
              )
            ),
            new Padding(
              padding: const EdgeInsets.all(8.0),
              child: new RaisedButton(
                child: new Text('C'),
                textColor: Colors.white,
                color: Colors.lightBlue,
                onPressed: () {
                  _navigateToNext(context);
                }
              )
            )
          ]
        )
      )
    );
  }

  void _navigateToNext(BuildContext context) {
    // 次画面へ遷移して値を渡す
  }
}
2. 遷移先の画面を用意
中央に受け取った値を表示するTextと元の画面へ戻るためのボタンを配置します。
import 'package:flutter/foundation.dart';
import 'package:flutter/material.dart';

class DetailScreen extends StatelessWidget {

  final String text;

  DetailScreen({Key key, @required this.text}) : super(key: key);

  @override
  Widget build(BuildContext context) {
    return new Scaffold(
      appBar: new AppBar(
        title: new Text('Detail screen'),
      ),
      body: new Center(
        child: new Column(
          mainAxisAlignment: MainAxisAlignment.center,
          children: <Widget>[
            new Padding(
              padding: const EdgeInsets.all(8.0),
              child: new Text(
                  '$text',
                  style: new TextStyle(
                    fontSize: 50.0
                  ),
              )
            ),
            new RaisedButton(
              child: new Text('Back'),
              textColor: Colors.white,
              color: Colors.lightBlue,
              onPressed: () => Navigator.pop(context)
            )
          ]
        )
      )
    );
  }
}
@requiredアノテーションで文字列textを必須としています。
3. 遷移先へ文字列を渡す
FirstScreenを以下のように修正します。
onPressed: () {
  _navigateToNext(context, 'A');
}
void _navigateToNext(BuildContext context, String text) {
  Navigator.push(context, new MaterialPageRoute(builder: (context) =>
    new DetailScreen(text: text)
  ));
}
ボタンによって_navigateToNextへ渡す文字列を変えれば、DetailScreenで表示される文字列も変化します。
これでAndroidとiOSでビルドすると以下のような感じになります。
| Android | iOS |
|---|---|
 |
 |